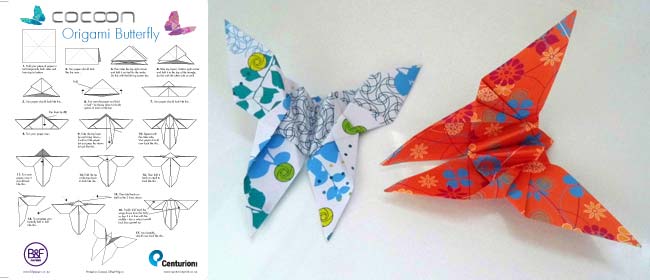
 Looking for something fun to keep the kids occupied during the school holidays? Try making these gorgeous paper butterflies.
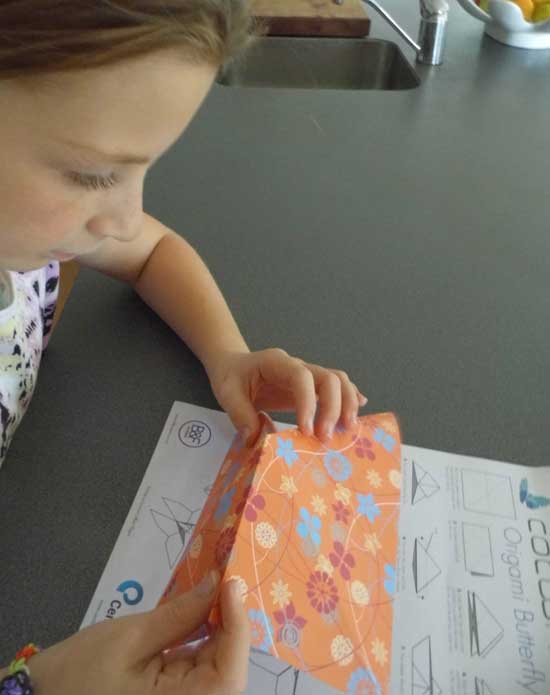
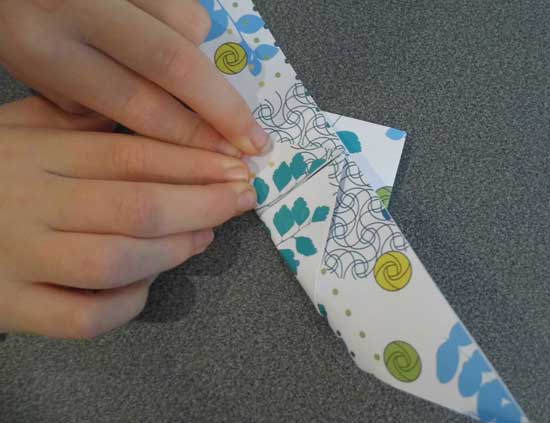
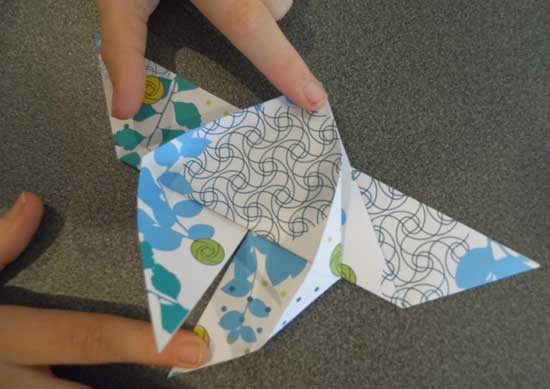
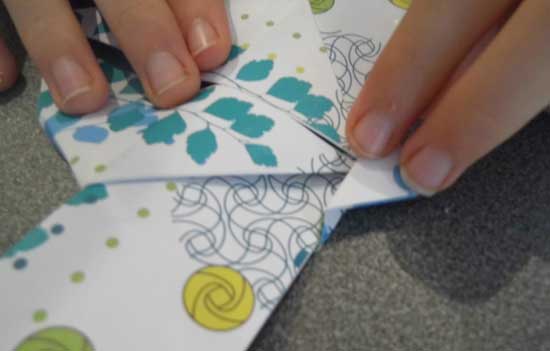
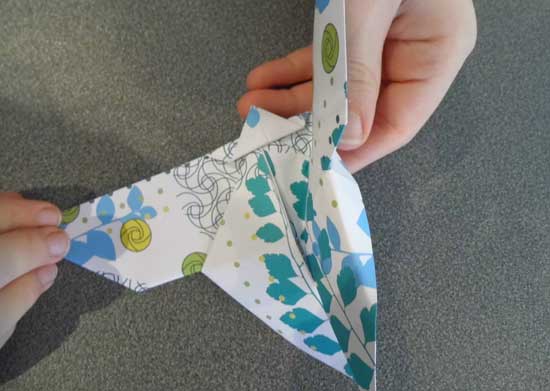
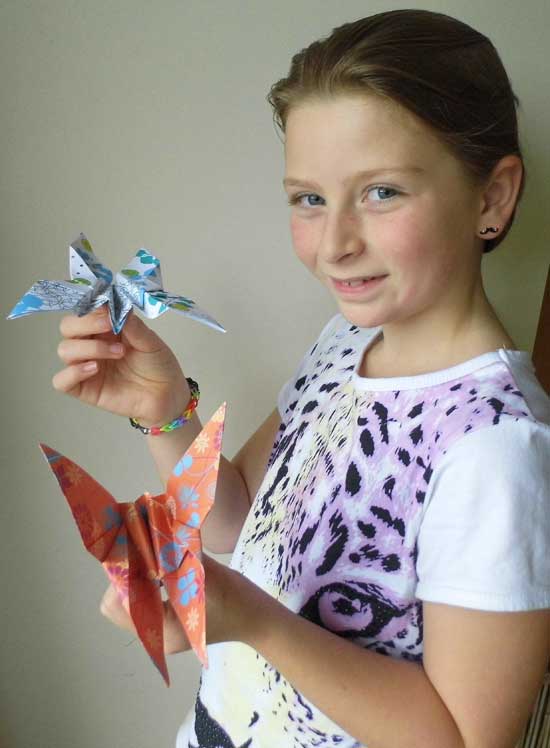
Thanks to B&F Papers we are able to share with you this tutorial on how to make some pretty cool origami butterflies. B&F Papers kindly provided us with their lovely Cocoon paper for this project. We enlisted the help of Charlize (8 years old) to ensure the project is child-friendly. She did a fabulous job! We’ve posted a few photos below to help clarify some of the ‘folds’ along the way.
Click here to download the PDF instructions
Steps 1 & 2: Fold your piece of paper in half diagonally both sides and from top to bottom.
Step 3: Take the top right corner and fold it on itself to the inside. Do this with the left top corner too. (Yes, the paper has changed, here. Charlize made an orange one first and we forgot to keep track with photos!)
Steps 4 & 5: Take top layers, bottom right corner and fold it to the top of the triangle. Do this with the other side as well.
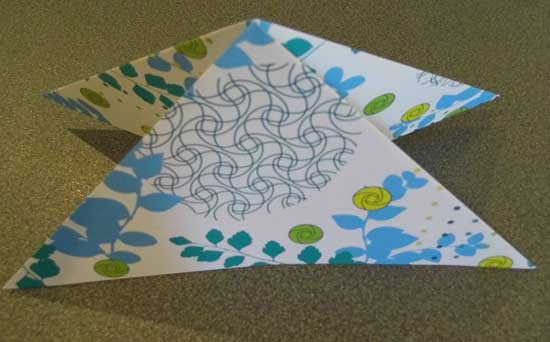
Steps 6 & 7: Turn over the paper and fold in half, but leave about a thumb space of room at the top. Your paper should look like this (below).
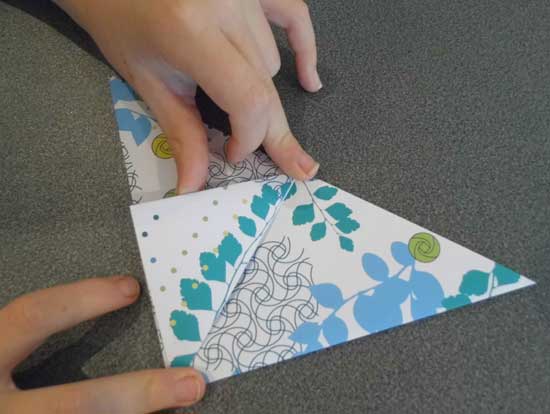
Steps 8, 9 & 10: Turn your paper over. Take the top layer tip and bring down – it will curl the paper but just press this down to look like this (below). Repeat with other side.
Steps 11,12 & 13: Turn over paper. Fold the tip of the top down, then fold it back on itself to look like this (below).
Steps 14 & 15: To complete your butterfly, fold in half. Then fold back on itself at the 2 lines shown on diagram. It should look like this (below).
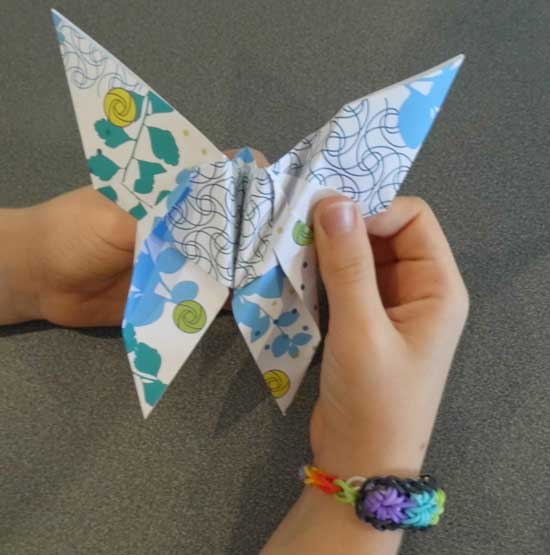
Step 16: Finally, fold back the wings down from the body so that it is in line with the middle.
Step 17: Your butterfly should now look like this.
 My Favourites




cool thankyou