 My Favourites


Whether you’re hosting a relaxed dinner with friends and family, a special celebration at a hired venue, or a full-on event, handmade place cards are a simple way to make the table look beautiful and inviting.
This Cricut project uses cardstock, twine and a small sprig of greenery to create botanical place cards that double as table decorations. (You don’t need a Cricut to make this project, but it makes life so much easier!) The arched shape gives them a soft, modern look, while the layered name panel adds a little dimension without making the project complicated. You can personalise each card with your guests’ names, table numbers (if there are several tables) or even a short menu, then finish them with rosemary, eucalyptus or whatever greenery you have on hand.
They’re easy to customise and lovely enough for weddings, birthdays, dinner parties or any occasion where you want the table to feel just that little bit more special.
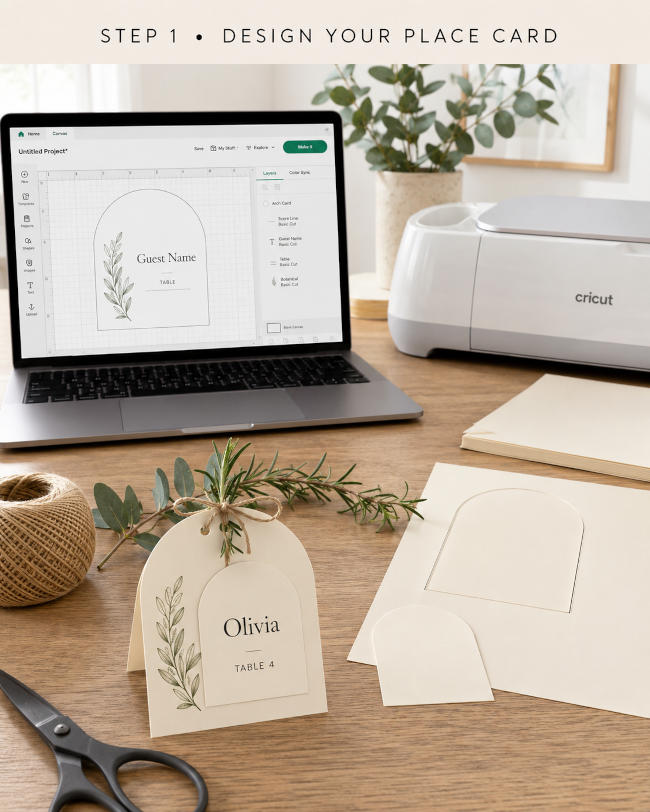
Step 1: Design your place card
Create a simple arched place card in Cricut Design Space. Add your guest’s name, table number or menu details, then include a small botanical illustration for a soft, elegant finish.
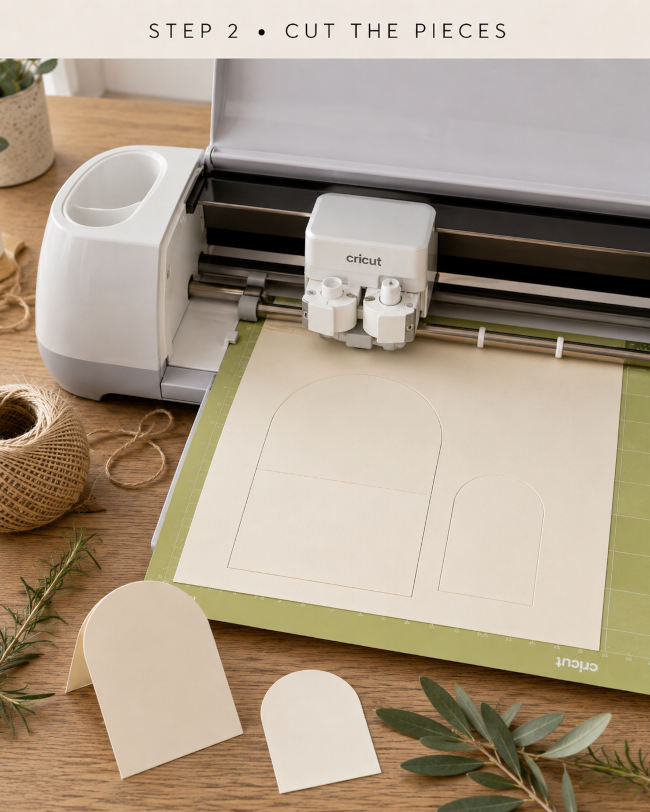
Step 2: Cut the pieces
Place your cardstock onto the Cricut mat and cut the main folded card and smaller front panel. Use a medium-weight cardstock so the card stands up neatly on the table.
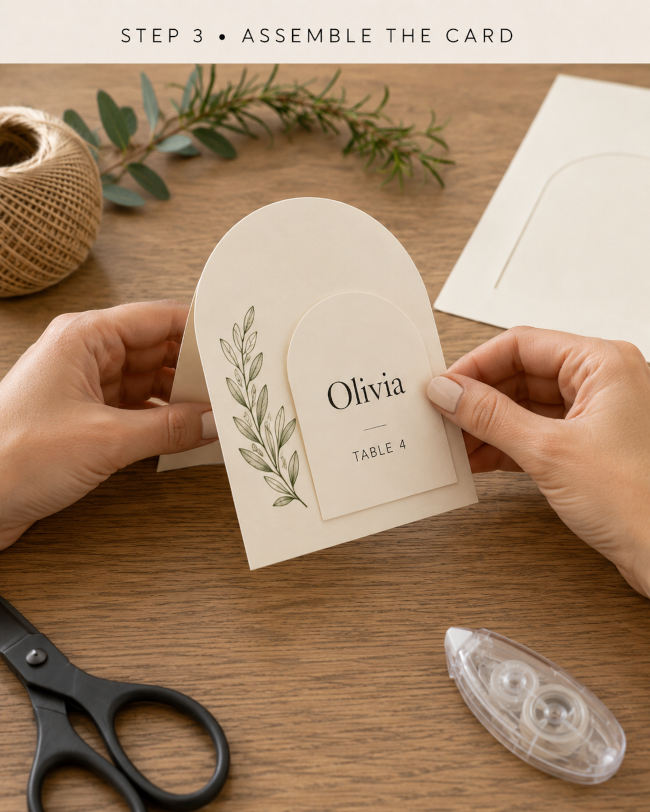
Step 3: Assemble the card
Fold the larger card along the score line, then attach the smaller name panel to the front using a glue stick, double-sided tape or adhesive roller.
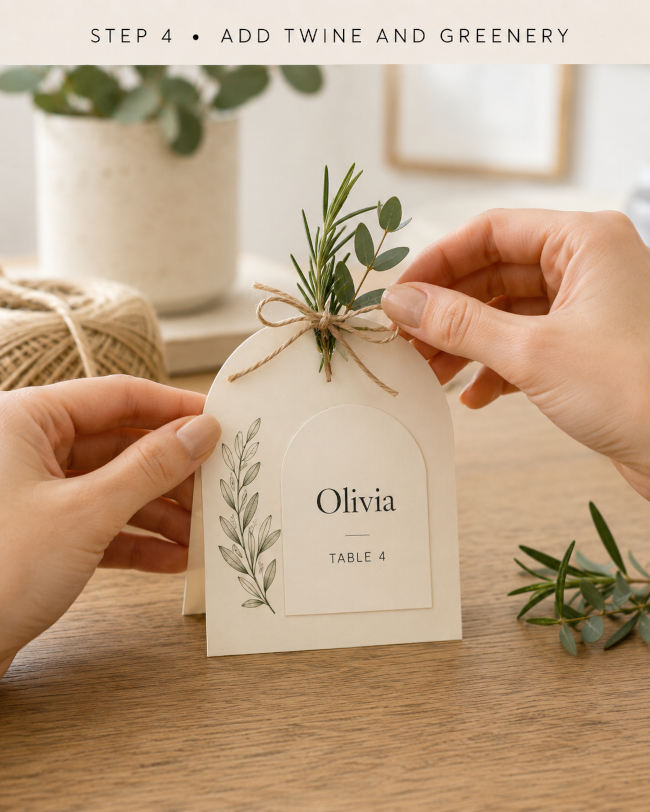
Step 4: Add twine and greenery
Punch a small hole near the top, then tie on a sprig of rosemary, eucalyptus or another small piece of greenery with natural twine. Keep it simple so it looks fresh rather than fussy.
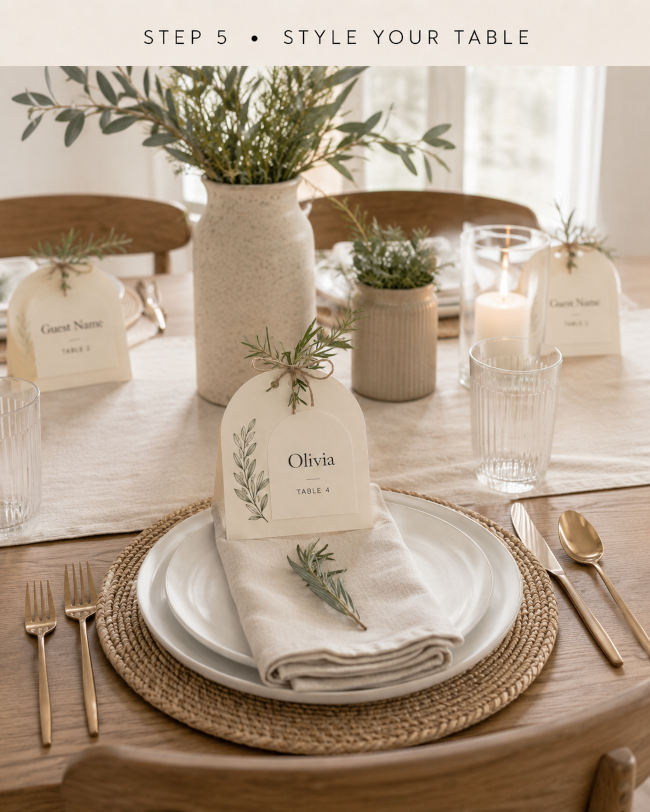
Step 5: Style your table
Place one card at each setting, either on top of a folded napkin or beside the plate. Add candles, linen, woven placemats and a few extra sprigs of greenery for an easy, polished tablescape.


Speak Your Mind