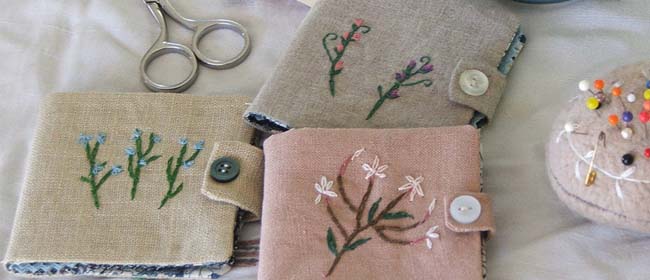
 The lovely Melissa Wastney of Tiny Happy is guest blogging this week, and we’re sooo excited. Check out her insanely beautiful needlebooks. Lucky for us, she’s provided a tutorial on how to make them. Melissa, who lives in Wellington (she’s originally from Nelson) sells her gorgeous crafts in her Etsy shop, and writes about her crafty adventures over at Tiny Happy. Check them both out. She’s super talented. Then on to her tutorial below.
Take it away Melissa…
EMBROIDERED NEEDLEBOOK
These old-fashioned linen needlebooks make a great gift for anyone handy with a needle. Or you can make one for yourself to organise your sewing notions. Either stitch your own design on a piece of linen for the front, as I have here, or use a piece of your favourite fabric instead.
You will need:
• small piece of linen fabric
• small piece of cotton fabric for the lining
• small piece of iron-on interfacing
• small embroidery hoop
• snap-fastener (sew-on type)
• button
• small piece of wool felt or fabric
• iron and sewing machine
• pinking shears
STEP 1
Make yourself a pattern from paper, then use it to cut out your needlebook front, lining and interfacing. This pattern should be a rectangle measuring 20cm X 11cm.
You can also use this pattern to quickly cut out more needlebooks, too.
In addition to the book pieces, also cut out 2 rectangles from your linen fabric, measuring 3cm x 5cm.
STEP 2
Fold the piece of linen in half, then lightly mark with your pencil where you want your embroidery to be positioned.
Place the linen in the hoop and work your design. There are lots of embroidery ideas, methods and designs available online, if you’re stuck!
STEP 3
Press your design, and iron the interfacing to the back of your linen piece.
With right sides together, sew around the two small pieces of linen you cut originally, leaving one short side open. Turn right side out and press.
STEP 4
Make a sandwich by laying down your embroidered linen piece, right-side-up, the little ‘tab’ (centred on the short side opposite the embroidery, and facing in towards it), and then laying your lining fabric over the top, right side down. Pin around all the edges.
STEP 5
Sew all around the edge, leaving a small gap at the bottom for turning.
Turn right side out, push out the corners, and iron flat.
STEP 6
Hand-sew opening closed.
STEP 7
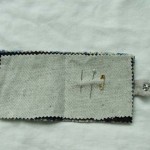
Trim the wool fabric with pinking shears so that it is a little smaller than your finished needlebook.
Centre it inside the ‘cover’ and sew down the middle to attach.
STEP 8
Hand-sew the snap fastener to the ‘tab’ and the matching piece onto the needlebook front to fit. Cover the stitching on the tab by sewing a button over it. Voila!
 My Favourites






Speak Your Mind