 My Favourites


Craft extraordinaire Jessica Hess from For the Joy of Sharing shows us how to make a gorgeous greeting card for friends and loved ones.
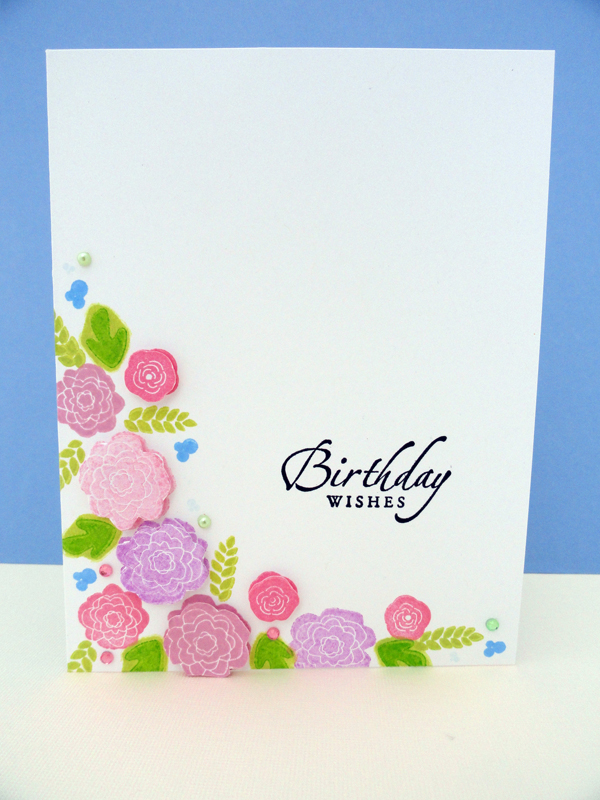
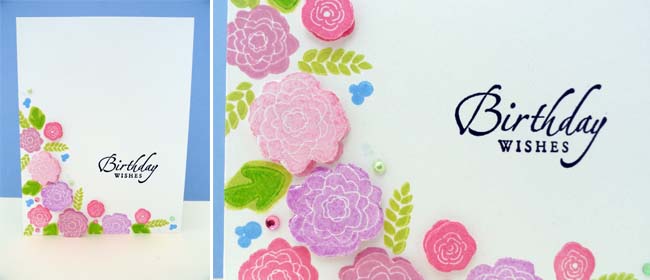
Front of card. Click to enlarge.
This is a fairly quick project to complete. It can easily be scaled back or stepped up to suit the creator’s amount of free time or ability level. I often like to stamp on the envelope as well to make it match the card. Once you have some stamps and ink out on your work surface it isn’t too much more effort to create more matching items.
1. I cut an 8 1/2 x 11″ piece of white cardstock in half so that it measured 5 1/2 by 8 1/2″. Then I scored it in half at 4 1/4 x 5 1/2″ to create the card body. This creates a standard sized card.
2. I chose some pretty stamps I have of flowers and leaves, and some inks that were some nice soft colours that worked together.
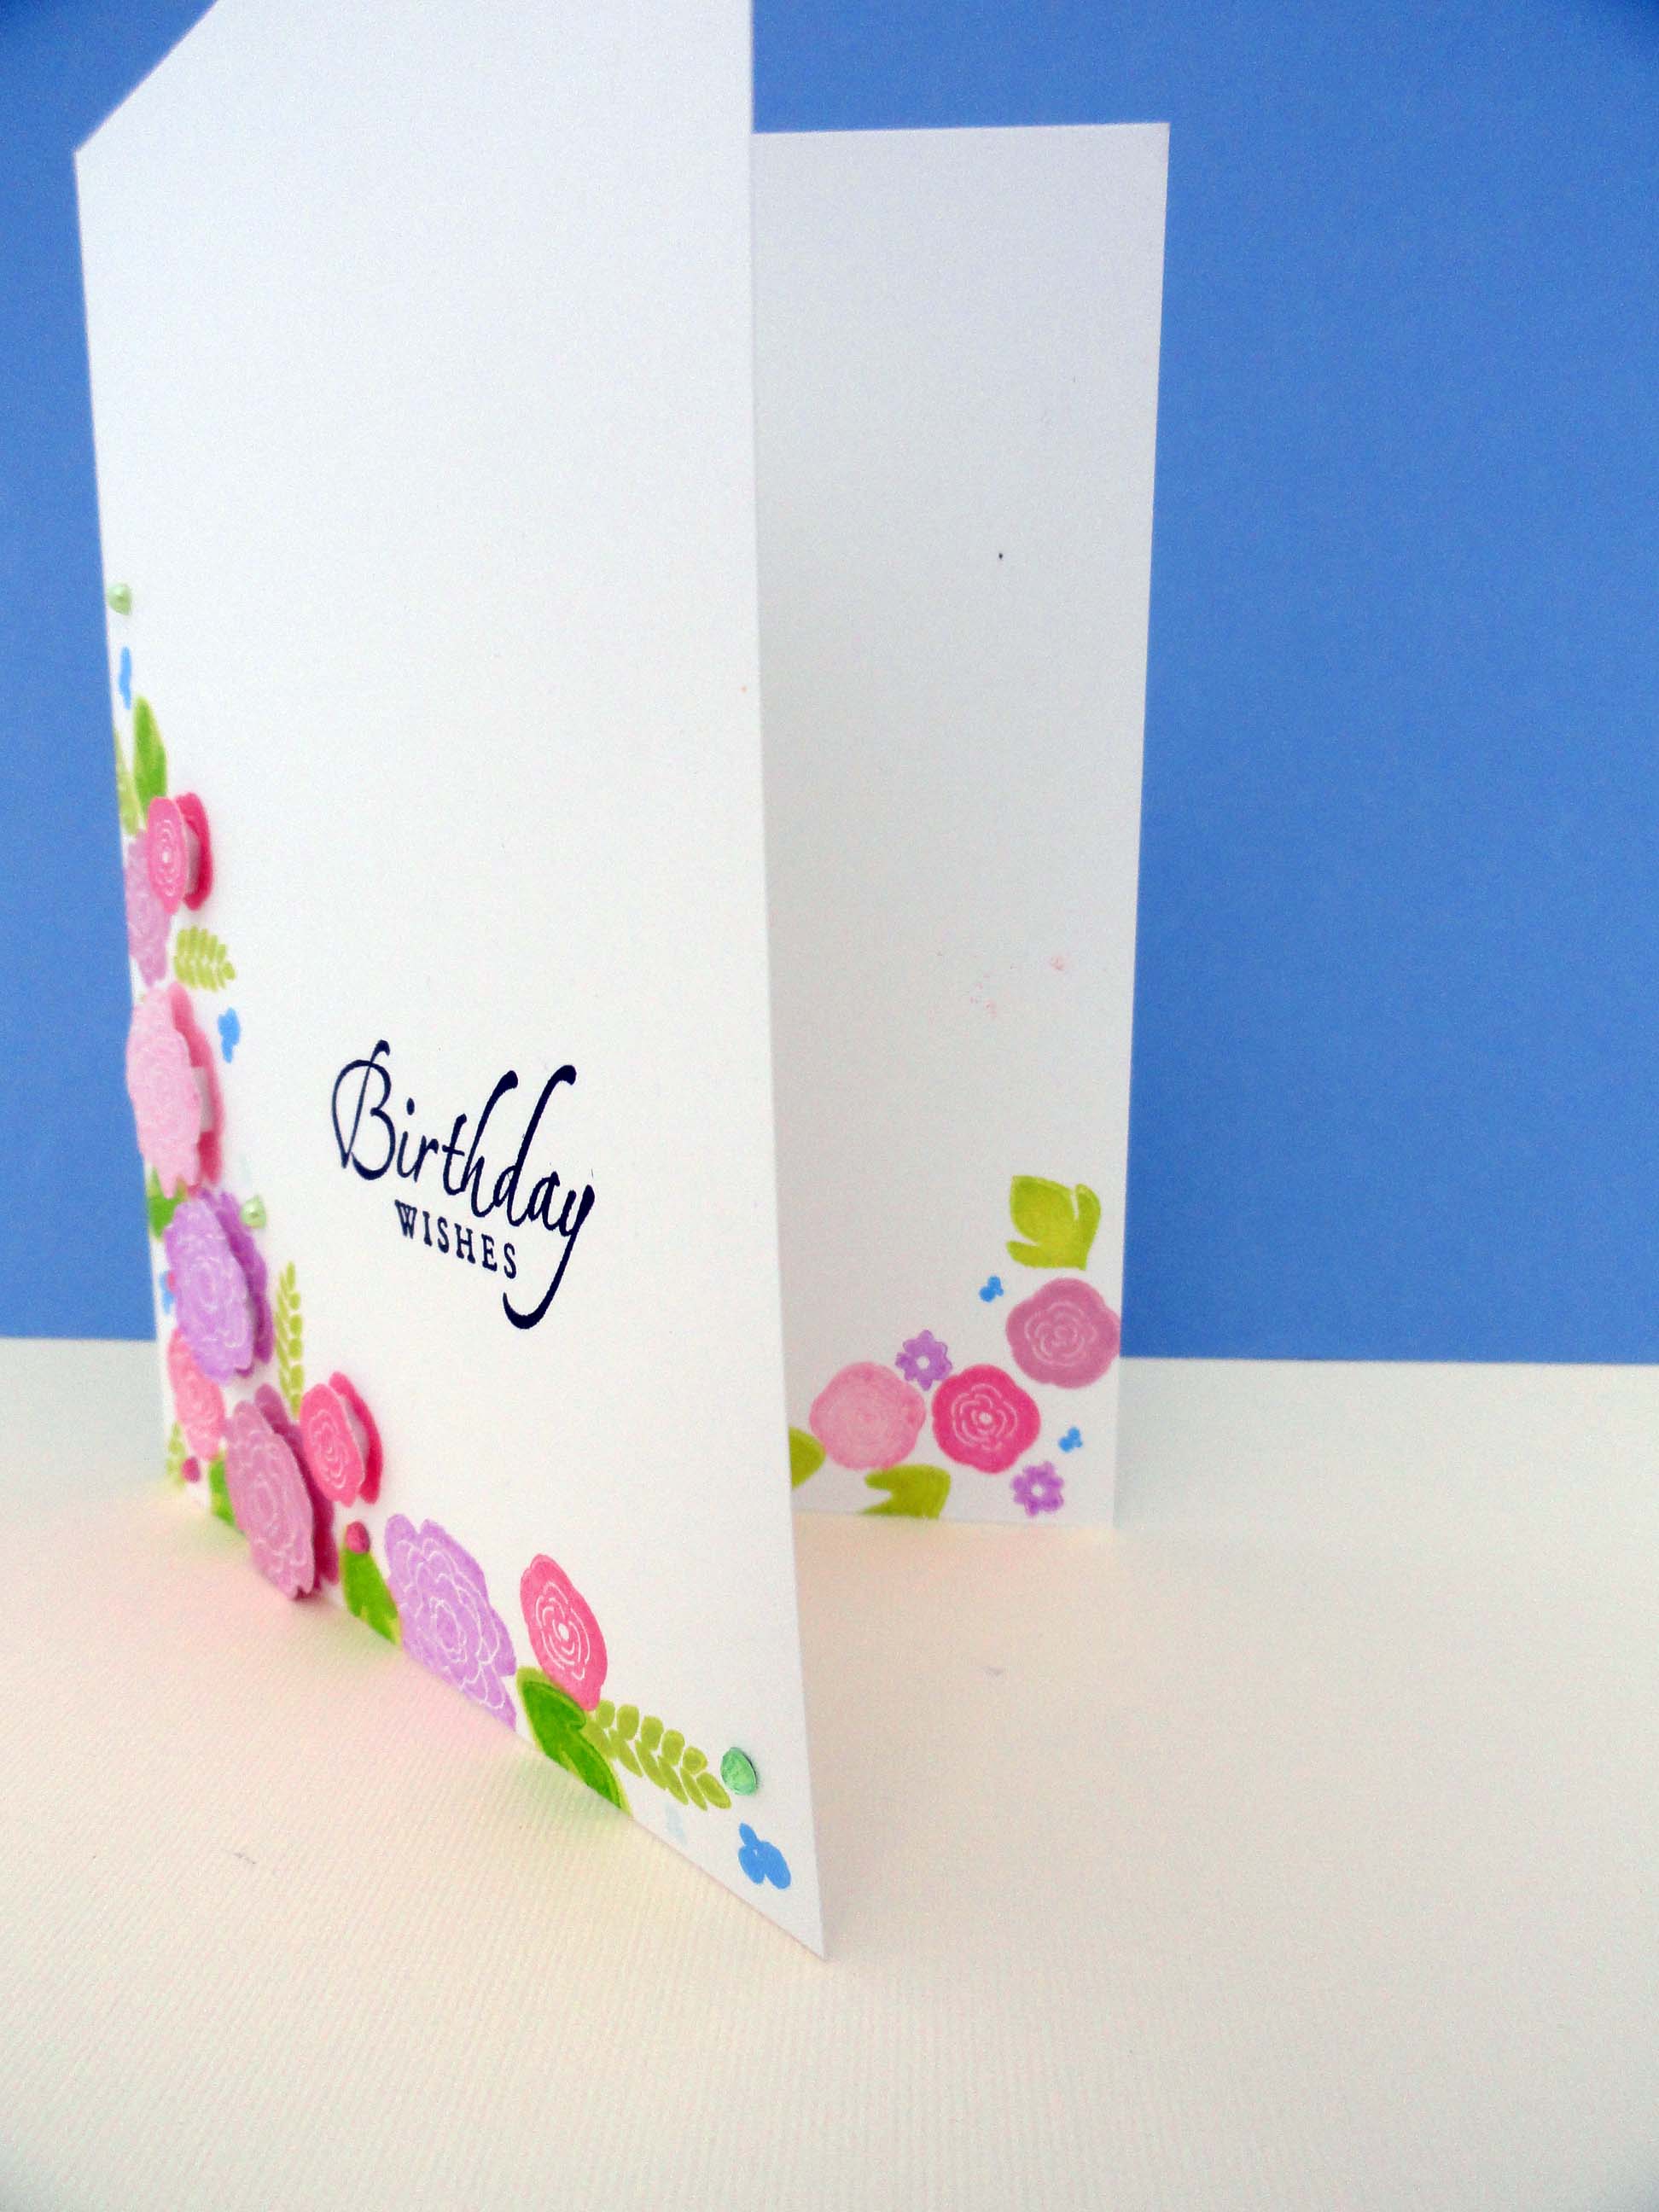
Inside card. Click to enlarge.
3. I stamped the larger flowers first and then filled in the smaller areas with smaller flowers and leaves. I varied the colours and shapes that were next to each other to keep it interesting and not too repetitive.
4. I stamped some extra flowers on the remainder of the white cardstock. These I cut out and then adhered on top of the matching flowers on the card using some foam adhesive squares.
5. I stamped the greeting on the front with black ink.
6. I decided the inside and back of the card should have some of the design continue there as well.
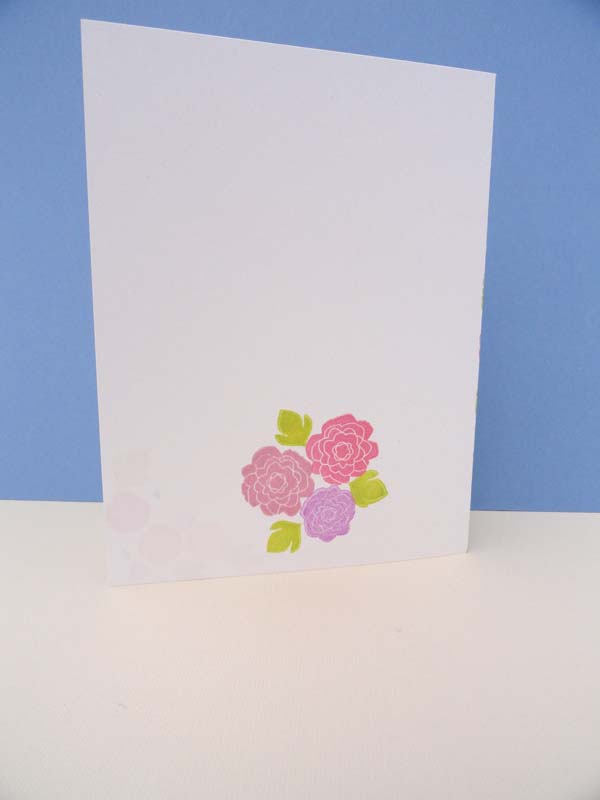
Back of card. Click to enlarge.
7. I finished by adding some self adhesive gem stickers. They add a little shine and sparkle.
Jessica also created a matching envelope to put the card in. Wouldn’t you love to receive something like this in the post?
Click through to her website to see the matching envelope and another greeting card idea.


Gorgeous card thanks for the inspiration!